


Construction preparation:
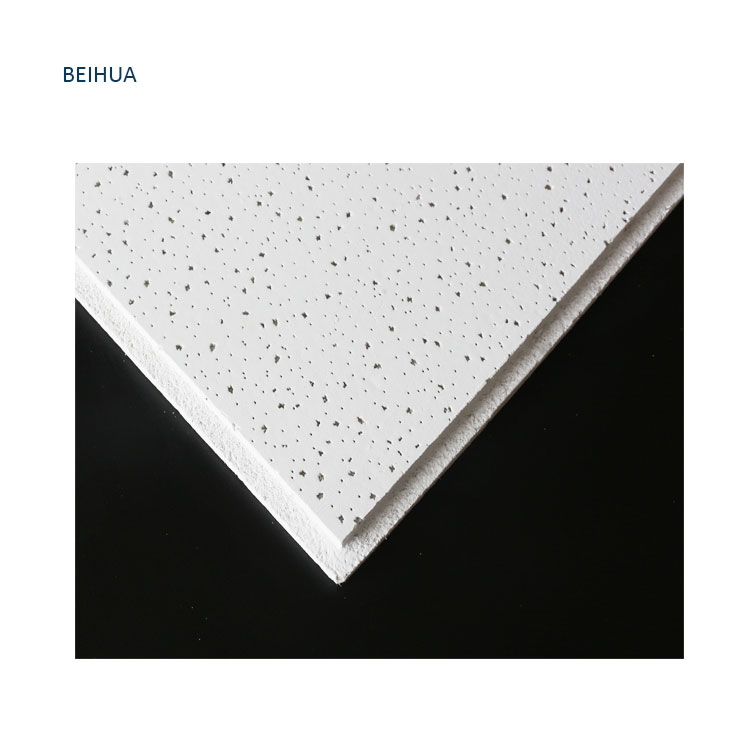
1. 38 main keel, T-shaped main tee, cross tee, wall angle, 600×600 mineral fiber board
2. 38 main keel hanger, T-shaped main tee hanger
3. Hanger rod, expansion screw, nut, hanger
4. Electric hammer, metal cutting machine, laser automatic marking and leveling instrument, woodworking hand tools, ink fountain construction line, gloves, etc.
Construction Conditions:
1. The installation and commissioning of various equipment such as air conditioning, fire fighting, communication and other equipment in the ceiling is completed.
2. All kinds of materials and tools are available.
3. Wet work such as grooves, holes and holes on the wall and top surface that need to be repaired is completed.
Process requirements:
1. Clean up the site, clean up the walls, ground dust and garbage on the construction site.
2. Locating the elastic line, determine the 50cm horizontal line according to the design and site conditions, and then pop out the ceiling T-shaped main tee control line on the wall, and pop out the boom fixing line on the ceiling.
3. For the installation of the boom, the boom adopts 8 steel bars and fixed with corners and expansion screws. It is required to be welded firmly. The pitch of the boom is not more than 1200mm, the pitch of the main tee is not more than 1200mm, and the boom is required to be straight.
4. For ceiling grid installation, the 38 main keel and the boom are connected with 38 hangers, and the T-shaped main tee is installed after the cable is leveled. The T-shaped main tee is connected with the special pendant and the main keel, and the pendant must be tightened.
5. The mineral fiber ceiling board is installed. After the main keel is leveled and straightened, the mineral fiber ceiling board can be installed. When installing, pull the wire from one side to control the straightness of the T-shaped auxiliary keel. The operator should wear online gloves to avoid pollution of the square board. Adjust the leveling of the square plate while installing it. Place the square plate in place and wipe it clean with a towel while installing.
Post time: May-26-2021